A loop knot is the one knot on this list that is not about strength. It is about movement. Tie a jig or a crankbait on with a Palomar or an improved clinch knot and the lure is locked to a fixed point. Tie it with a loop knot and the lure hangs off a small loop of line, free to swing and roll the way the designer intended. If your topwater walks stiff or your jig sits crooked, the leader knot is usually the reason, not the lure.
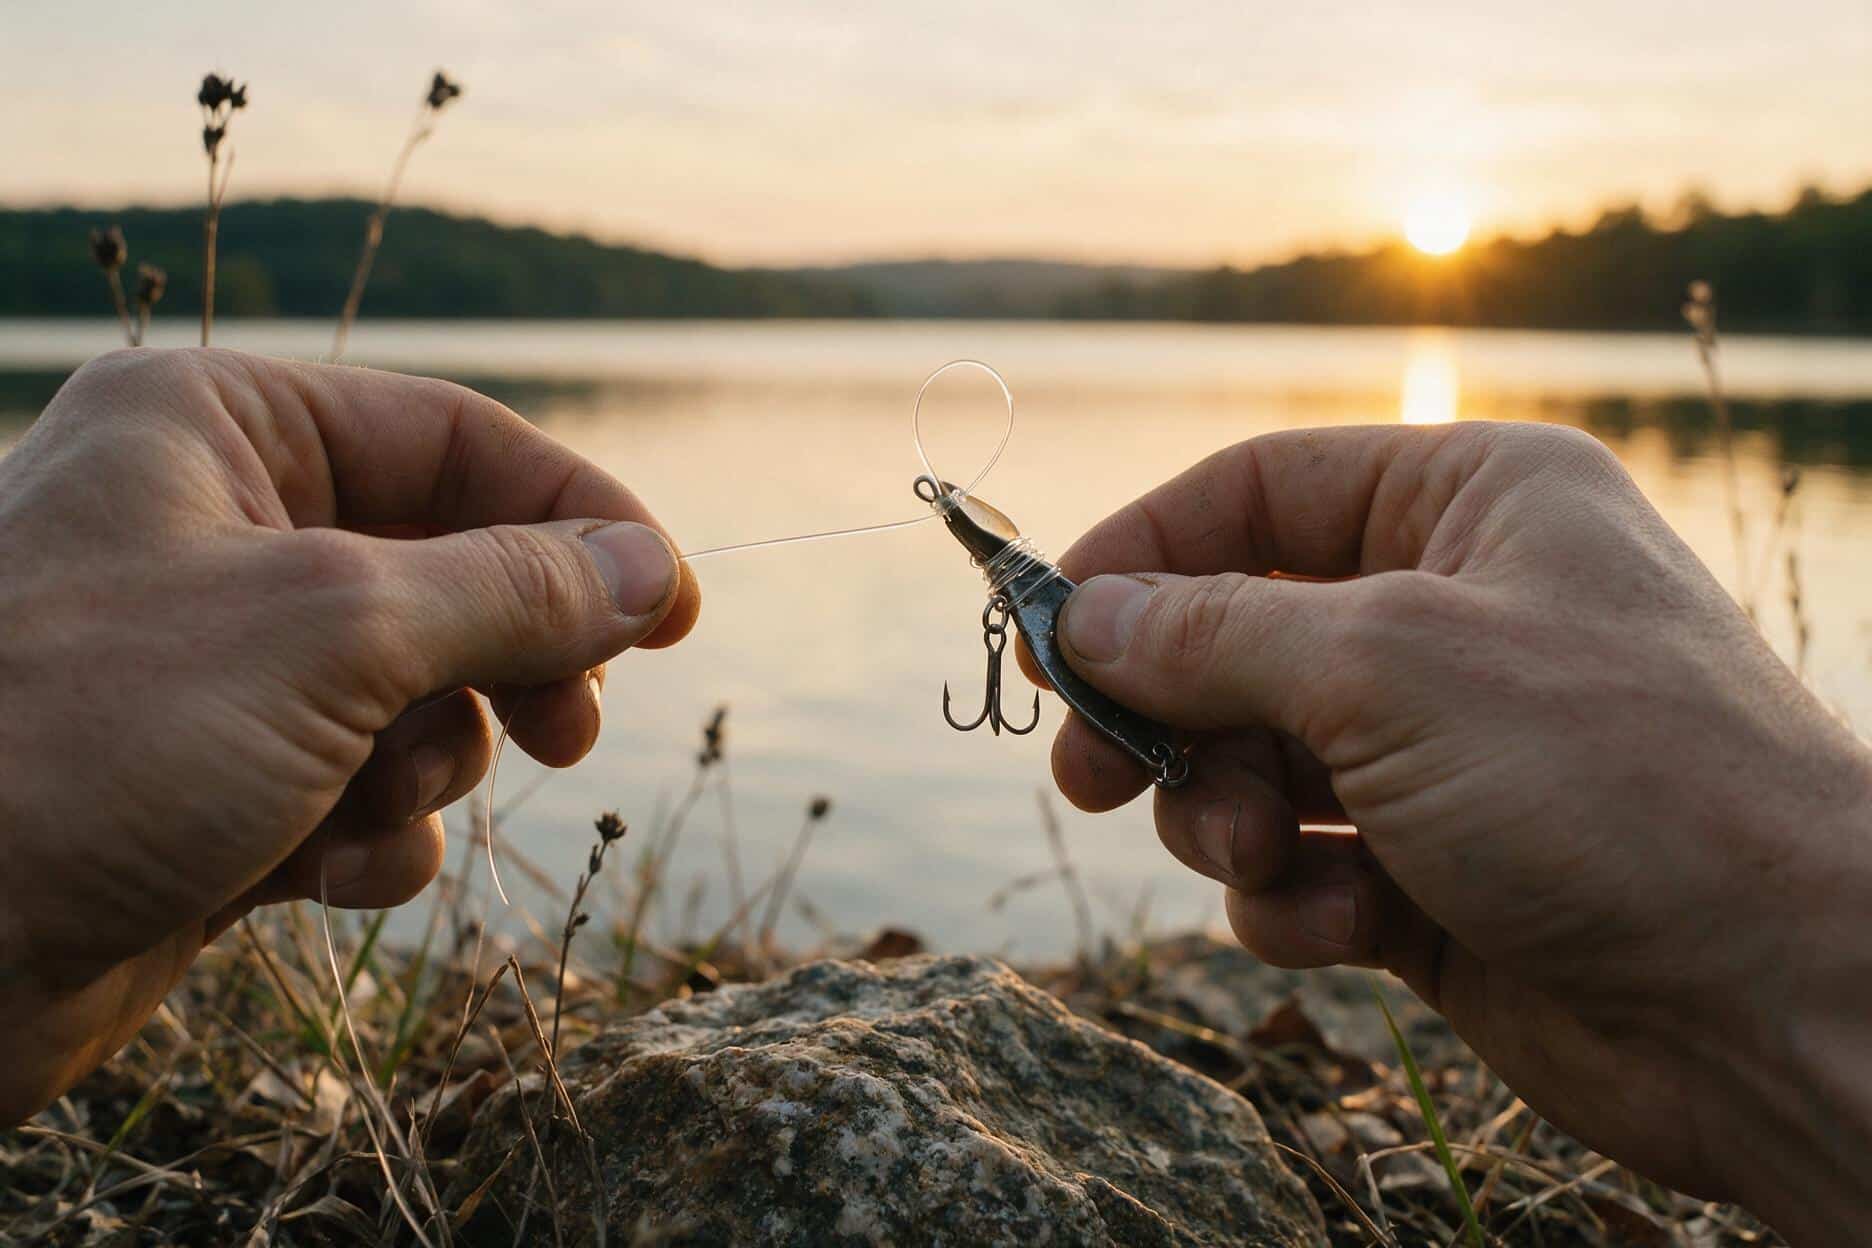
The version worth learning is the non-slip mono loop. It goes by other names depending on who taught you: Rapala knot, because it got popular running Rapala jerkbaits, or Lefty Kreh loop, after the angler who wrote about it for decades. Same knot. It holds close to 90% of line strength, which is high for a loop knot, and it does not slip down tight under pressure the way a plain overhand loop does.
what the loop knot is for
Any bait that depends on side-to-side or rolling action benefits from a loop connection: jerkbaits, walking topwaters, swimbaits, jigs fished on a slow swim, spinnerbaits when you want a wider wobble. A cinched-down knot restricts that motion. A loop lets the lure pivot on the eye instead of on the line.
It is not the right knot for everything. Bottom-bounced rigs, anything you are horsing out of cover, or a big flipping jig around wood does better with a fixed knot. A loop has a little more give and a little more chance of catching on something. Match the knot to what the lure needs to do, not out of habit.
tying the non-slip mono loop, step by step
- Tie a loose overhand knot in the line, about 6 inches from the tag end. Do not pull it tight yet.
- Run the tag end through the eye of the lure, then back through the loose overhand knot, entering from the same side the tag end came out of.
- Wrap the tag end around the standing line 3 to 5 times (3 for heavier mono or fluorocarbon, 5 for light line), then bring it back through the original overhand loop a second time, from the same direction as before.
- Pass the tag end through the big loop that just formed. This is the step people skip, and skipping it is why a "non-slip loop" turns into a plain slip knot.
- Wet the knot, then pull slowly on the standing line and tag end together to snug the wraps against the overhand knot. Pull the standing line against the lure to slide the whole knot down and set it. Trim the tag end to about an eighth of an inch.
Loop size is set by how far from the tag end you tied that first overhand knot. Half an inch to an inch is normal. Bigger loops swing more; they also catch on brush and tangle on trebles more easily.
getting the loop size right
Beginners tend to tie the loop too big, on the idea that more room means more action. Past about an inch, it stops adding movement and starts adding tangles. Start at half an inch. If the bait still looks stiff on the retrieve, open the loop up a little next time instead of guessing big from the start.
common mistakes
The most common failure is skipping step 4, threading the tag end back through the final loop. Without it, the knot slides down and locks tight against the eye under load, and you have tied a fixed knot by accident after doing all the extra work of a loop knot.
The second is wrapping too few turns on braid. Braid is slick, and 3 wraps that hold fine on 12-pound mono can slip on 20-pound braid. Use 5 to 6 wraps on braided line, and check the knot after landing a fish or two rather than trusting it because it looked fine on the dock.
The third is skipping the lubrication step. Mono and fluorocarbon generate friction heat as the wraps cinch down, and a dry pull can weaken the line right at the knot even when the knot looks correctly tied. Wet it with saliva or dip it in the water before the final pull.
testing it before it matters
Before the first cast, pull the lure straight against the knot by hand, as hard as you comfortably can. A properly tied non-slip loop holds. A badly tied one either slips down and cinches tight (missing step 4) or breaks clean at the overhand knot (dry pull, or too few wraps). Thirty seconds of testing on the dock beats losing a fish to a bad knot on the third cast.
loop knot vs. a fixed knot
If you are not sure a bait needs a loop, watch it swim boatside on slack line before you decide. A jerkbait that already darts hard on a tight fixed knot does not need a loop added on top. A stiff-looking crankbait or a topwater that will not walk cleanly is the one worth re-tying with a loop first, before blaming the lure itself.
For fixed connections on jigs and worms, the Palomar knot is the default: fast to tie and close to full line strength. On lighter fluorocarbon leaders, a lot of anglers still reach for the improved clinch knot out of habit, even though it tests slightly weaker than a Palomar in most line-strength comparisons.
This is one of several connections covered in the complete guide to fishing knots, alongside the fixed knots and how to pick between them for a given rig.
Tie a non-slip mono loop knot, also known as a Rapala knot or Lefty Kreh loop, so jerkbaits, topwaters, and swimbaits can swing and roll freely instead of being locked to a fixed point.
Tie a loose overhand knot
Tie a loose overhand knot in the line about 6 inches from the tag end. Don’t pull it tight yet.
Thread through the lure eye and back through the overhand knot
Run the tag end through the eye of the lure, then back through the loose overhand knot, entering from the same side the tag end came out of.
Wrap the standing line and pass through the loop again
Wrap the tag end around the standing line 3 to 5 times (3 for heavier mono or fluorocarbon, 5 for light line), then bring it back through the original overhand loop a second time, from the same direction as before.
Pass the tag end through the big loop
Pass the tag end through the big loop that just formed. This is the step people skip, and skipping it is why a non-slip loop turns into a plain slip knot.
Wet, snug, and set the knot
Wet the knot, then pull slowly on the standing line and tag end together to snug the wraps against the overhand knot. Pull the standing line against the lure to slide the whole knot down and set it. Trim the tag end to about an eighth of an inch.
What is a non-slip mono loop knot also called?
It’s also known as the Rapala knot, from its popularity with Rapala jerkbaits, or the Lefty Kreh loop, after the angler who wrote about it for decades. All three names refer to the same knot.
How much line strength does a loop knot hold?
The non-slip mono loop holds close to 90% of line strength, which is high for a loop knot, and unlike a plain overhand loop it doesn’t slip down tight under pressure.
What size should the loop be?
Half an inch to an inch is normal. Past about an inch the loop stops adding movement and starts catching on brush and tangling on trebles, so it’s better to start small and open it up only if the bait still looks stiff.
When should you use a fixed knot instead of a loop knot?
For bottom-bounced rigs, fish being horsed out of cover, or a big flipping jig around wood, a fixed knot like a Palomar holds up better. Save the loop knot for baits that rely on side-to-side or rolling action, like jerkbaits, topwaters, swimbaits, and spinnerbaits.